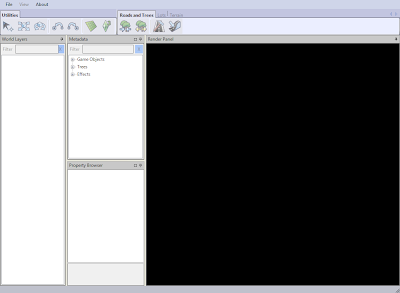
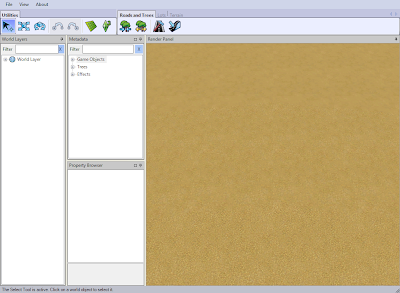
So time to sculpt. It's pretty much all about trial and error. Using the sculpting tool is pretty much the same as trying to paint something digitally. But once again, if I can do it, other people can too.
So my goal here is to share some tricks I learned trying to sculpt my neighborhood.
Scale
This will be THE single biggest problem you will face. Uh, I assume. Because it is very difficult to gauge how big your world is in comparison to your sims.
My first tip: Figure out where your center of your world will be. In my case it was very simple.
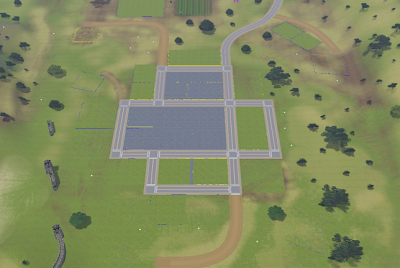
I am only going to have one center to my world. So the first thing I did was plop down the largest lot possible (64x64) so I could get a sense of how big BIG really was.
Later on, I deleted that center lot after I'd done more sculpting. But to start, I think it really helped me find the center and where I wanted to focus.
The Tools
So you definitely know where to find the tools now. Take some time to play around with them.
They work pretty much exactly like the paint brush in any art program such as GIMP or Photoshop.
The "brushes" themselves are pretty self explanatory.
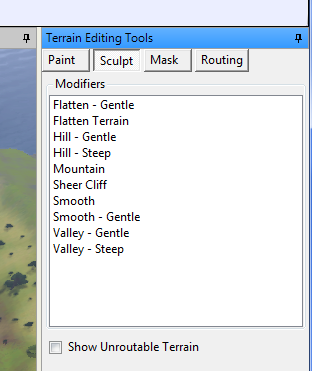
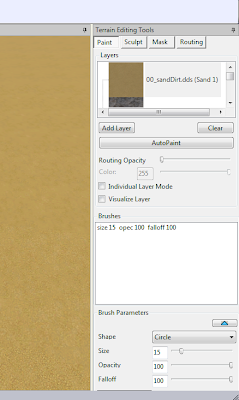
This is what I really want to call your attention to:
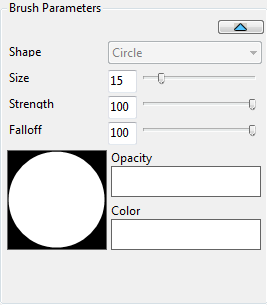
You can change the type of brush you want to use (circle or square) and the size. The strength (which will later be the opacity for the paints) can be adjusted so that the tools do very very little. I've found an excellent working range to be within 5 to 20 at most in general. Unless I'm going cray trying to make a cliff.
Falloff can be a helpful little thing too. Compare:
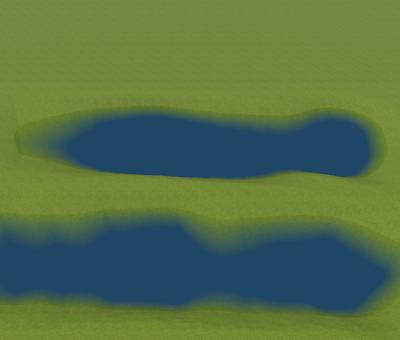
The top one is with Falloff at 100%. The bottom is with Falloff at 0%. I've usually got fall off at around 20% too while I'm sculpting.
So I'm not great at sculpting from a flat terrain, but for the sake of doing it to say I've done it, I want to make something simple. How about a beach with a high cliff or sand dunes? ('Cause I've got plenty of experience with beaches with high sand dunes.)
So I'm going to start with a flat terrain for the sake of this tutorial, but I found it so much easier to start with something close to what I wanted.
First things first! (Or Where is the Sun?)
Before I start sculpting, let's find out where the sun is, if you care about such things.
So if you care do this first:
1. Go to view> Time of day
This box will open up on the side.
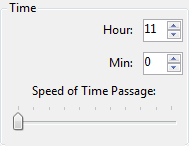 Feel free to have fun with this. It gives me pretty much the same amount of joy as the changing sea level button.
If you are working on a flat terrain, you'll want to make a mountain or something so you can see the shadows.
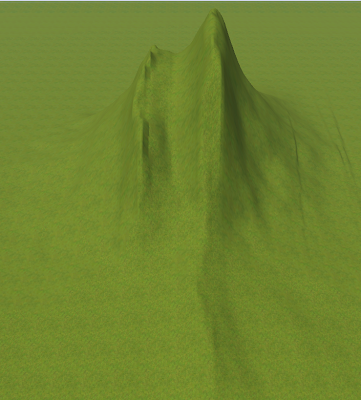 Play around with it to figure out where your sun rises and sets.
Personally, being a West Coaster, I would like the sun to set on my beach.
Here I start:
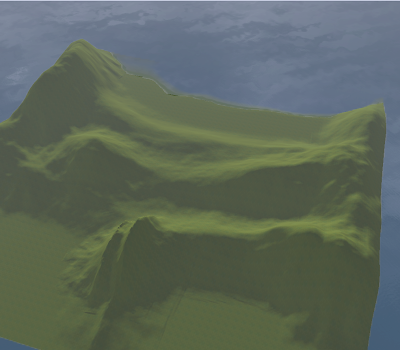 It's like laying down a sketch before actually drawing. I've only used three tools here-- hill (steep and gentle) and valley, at 30% strength and 100% falloff. I have the start of the hills and I see the spot where I want the beach to be.
Now time for some fine tuning.
First thing I'm going to do is put down a lot. So I know the scale.
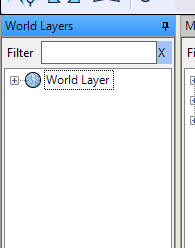
Right click on "World Layers"- the one with the globe next to it. And add a new layer.
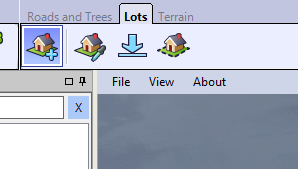
Click on the lots tab and select the first icon. That's to add a lot.
Then I'm just going to plop a lot down on my beach. (Because for the purpose of my tutorial, the beach is the center of my world.)
When putting your lot down, it's a little disorienting at first. You start by clicking on the ground where you'd like a corner to go, then stretch your mouse to the next corner and click to place it (like you're putting a sheet on a bed, it that makes sense, you want to go from one corner to the other).
Like so:
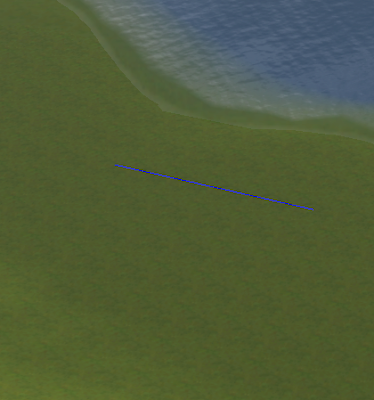 If you look in the bottom right hand corner, you will see how large this one segment is. In this case, I'm shooting for 40x40.
Then you pull down and you get your box.
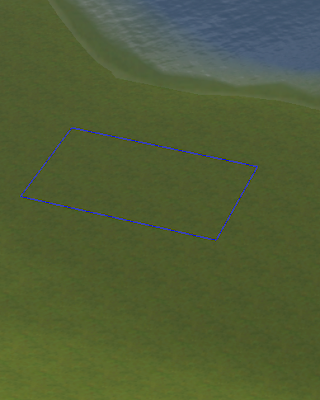
You can delete this later on. This is just for reference right now.
My basic tips for sculpting:
-Remember that everything is fixable. You can undo (ctrl + z) or just layer tools on top of others to create interesting effects.
-For more effects that are usually a little more severe (like mountains or steep hills), use a larger brush and a weaker strength
- the smooth tool (both of them) are your best friends
Anything that looks too severe, you can smoothen with the smooth tool. The key to a natural beach edge seems to be the smooth tool.
After a couple of minutes I have this:
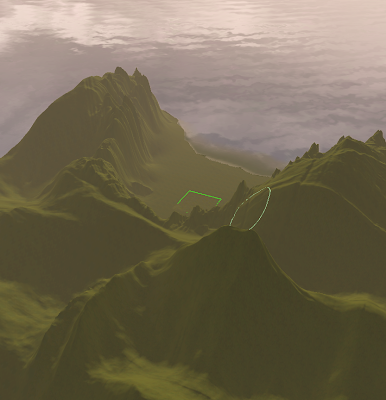 Not impressive, but I only spent a couple of minutes on it. Plus I'm building for just one sim.
I would like to point out that I actually had to move the lot. That's because I was too close to the edge of the world. When you're too close to the edge of the world, your tools will not work and you'll have to move the camera.
Now that I have pretty much what I want, I'm going to get rid of the lot. I'll add that back later. After I paint.
Paint
Painting is awesome. Really.
Ok, so you're going to start out with only four paints at first. But there are more that come with Create a World.
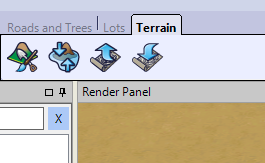
First we go back to the terrain tools and click the first icon.
 |
You'll get this of course.
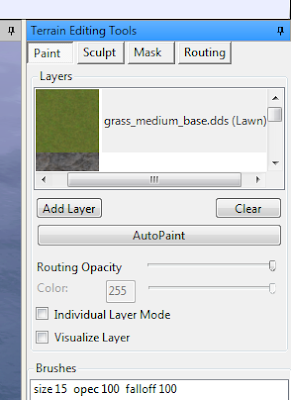
Click "add layer." You'll see this:
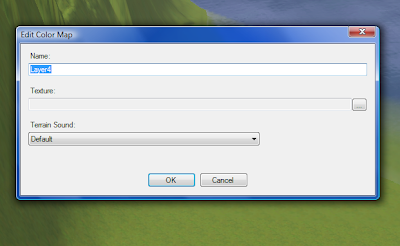 Name your layer, then hit the browse button to pull up a list of image files you can use. Notice that you can select sounds for your terrain paints. This really amused me greatly. Love the sound of a sim walking on the beach.
Anyway, the default images that come with CAW (Click to enlarge):
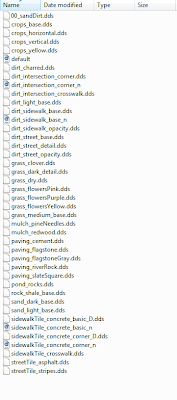 You can use any of these images. You can add more so long as you save the image as a DDS. (Most programs will need an add on to do DDS.) And you can always go back and edit the "layer" by right clicking on the layer you want to edit.
I'm going to keep it pretty simple for right now. I'm going to test out the Autopaint feature. It paints based off the height of the terrain and uses the first two layers of the paints.
(After doing that, CAW went a little wonky. I couldn't see the terrain paints, but if I zoomed out they'd appear. So here's another tip: When in doubt, close the world you're working on and re-open.)
This is a snippet of what I get:
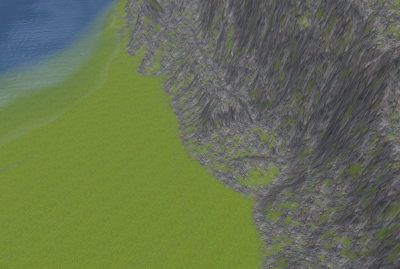 Don't be discouraged, it looks worse than it is from far away, and it's a good base.
With the paints, opacity is really important. You can paint and repaint and paint over things until you get the effects you want. (I've detailed my findings in this entry so I won't go into it again. Basically, don't be disturbed about how bad it looks from far away. Up close it looks a lot better.)
Now I'm going to do a quick hand paint!
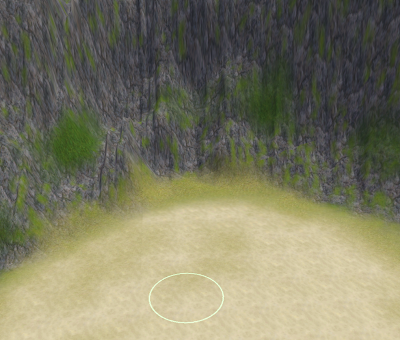 Uh... not the best, but you get the idea.
 Daytime view. I actually suggest sending a sim in not just for testing but just to see the view.
 Sunset. You can't be alone with a sunset like that!
Really, I think you get the idea. Hopefully I've shared something that will help someone.
