2. Terrain Sculpting and Painting

Another part to my World Builder (Create a World) for Everyone thing. Because everyone should be able to create a world!


So time to sculpt. It's pretty much all about trial and error. Using the sculpting tool is pretty much the same as trying to paint something digitally. But once again, if I can do it, other people can too.

So my goal here is to share some tricks I learned trying to sculpt my neighborhood.


Scale

This will be THE single biggest problem you will face. Uh, I assume. Because it is very difficult to gauge how big your world is in comparison to your sims.

My first tip: Figure out where your center of your world will be. In my case it was very simple.
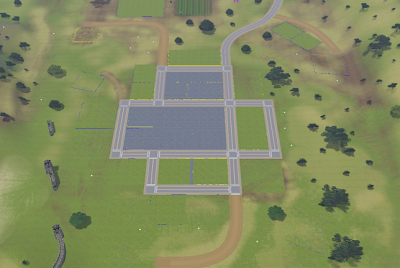

I am only going to have one center to my world. So the first thing I did was plop down the largest lot possible (64x64) so I could get a sense of how big BIG really was.

Later on, I deleted that center lot after I'd done more sculpting. But to start, I think it really helped me find the center and where I wanted to focus.


The Tools


So you definitely know where to find the tools now. Take some time to play around with them.

They work pretty much exactly like the paint brush in any art program such as GIMP or Photoshop.


The "brushes" themselves are pretty self explanatory.
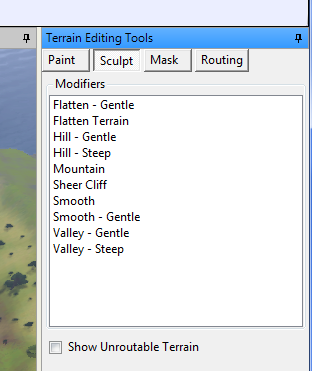

This is what I really want to call your attention to:
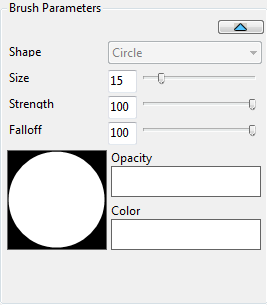


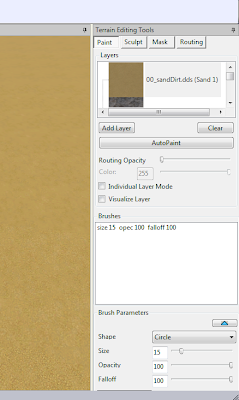
You can change the type of brush you want to use (circle or square) and the size. The strength (which will later be the opacity for the paints) can be adjusted so that the tools do very very little. I've found an excellent working range to be within 5 to 20 at most in general. Unless I'm going cray trying to make a cliff.

Falloff can be a helpful little thing too. Compare:
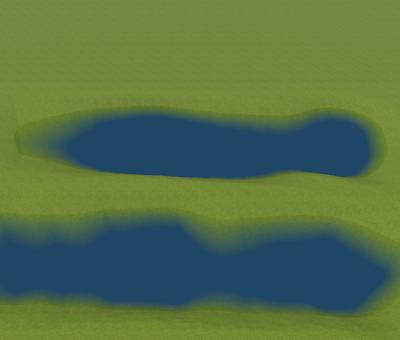

The top one is with Falloff at 100%. The bottom is with Falloff at 0%. I've usually got fall off at around 20% too while I'm sculpting.


So I'm not great at sculpting from a flat terrain, but for the sake of doing it to say I've done it, I want to make something simple. How about a beach with a high cliff or sand dunes? ('Cause I've got plenty of experience with beaches with high sand dunes.)

So I'm going to start with a flat terrain for the sake of this tutorial, but I found it so much easier to start with something close to what I wanted.


First things first! (Or Where is the Sun?)

Before I start sculpting, let's find out where the sun is, if you care about such things.


So if you care do this first:

1. Go to view> Time of day

This box will open up on the side.
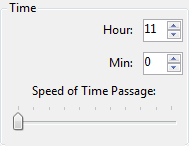
Feel free to have fun with this. It gives me pretty much the same amount of joy as the changing sea level button.


If you are working on a flat terrain, you'll want to make a mountain or something so you can see the shadows.
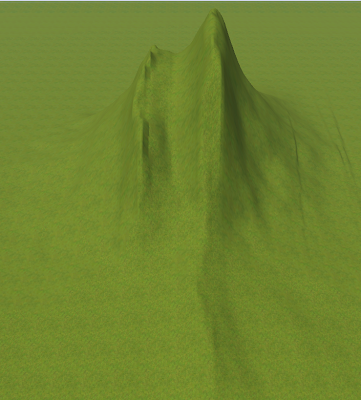
Play around with it to figure out where your sun rises and sets.


Personally, being a West Coaster, I would like the sun to set on my beach.


Here I start:
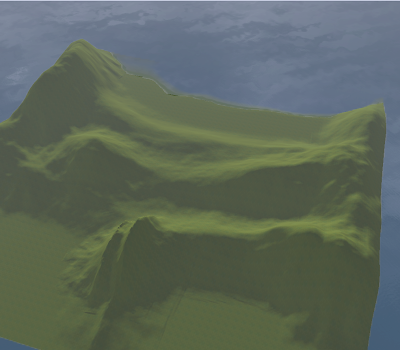
It's like laying down a sketch before actually drawing. I've only used three tools here-- hill (steep and gentle) and valley, at 30% strength and 100% falloff. I have the start of the hills and I see the spot where I want the beach to be.

Now time for some fine tuning.


First thing I'm going to do is put down a lot. So I know the scale.

Right click on "World Layers"- the one with the globe next to it. And add a new layer.
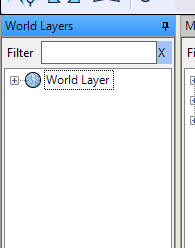


Click on the lots tab and select the first icon. That's to add a lot.
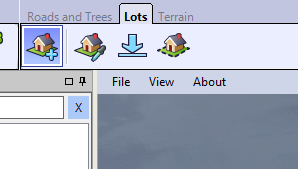


Then I'm just going to plop a lot down on my beach. (Because for the purpose of my tutorial, the beach is the center of my world.)

When putting your lot down, it's a little disorienting at first. You start by clicking on the ground where you'd like a corner to go, then stretch your mouse to the next corner and click to place it (like you're putting a sheet on a bed, it that makes sense, you want to go from one corner to the other).

Like so:
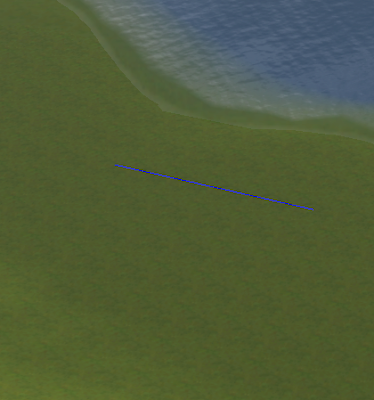
If you look in the bottom right hand corner, you will see how large this one segment is. In this case, I'm shooting for 40x40.

Then you pull down and you get your box.
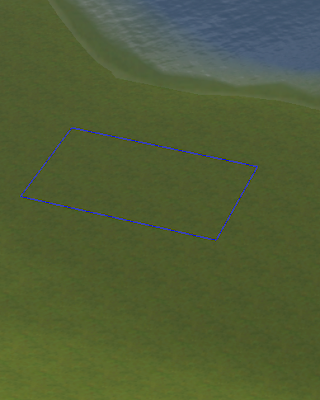

You can delete this later on. This is just for reference right now.


My basic tips for sculpting:

-Remember that everything is fixable. You can undo (ctrl + z) or just layer tools on top of others to create interesting effects.
-For more effects that are usually a little more severe (like mountains or steep hills), use a larger brush and a weaker strength
- the smooth tool (both of them) are your best friends

Anything that looks too severe, you can smoothen with the smooth tool. The key to a natural beach edge seems to be the smooth tool.


After a couple of minutes I have this:
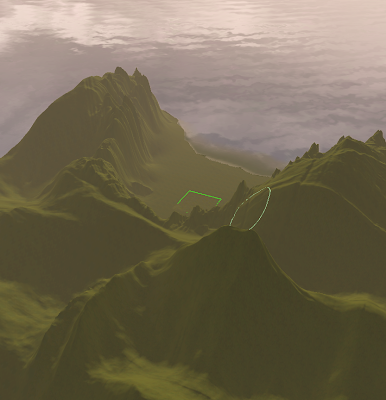
Not impressive, but I only spent a couple of minutes on it. Plus I'm building for just one sim.

I would like to point out that I actually had to move the lot. That's because I was too close to the edge of the world. When you're too close to the edge of the world, your tools will not work and you'll have to move the camera.


Now that I have pretty much what I want, I'm going to get rid of the lot. I'll add that back later. After I paint.


Paint

Painting is awesome. Really.

Ok, so you're going to start out with only four paints at first. But there are more that come with Create a World.

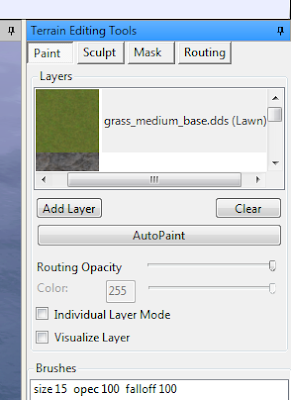
First we go back to the terrain tools and click the first icon.


You'll get this of course.

Click "add layer." You'll see this:
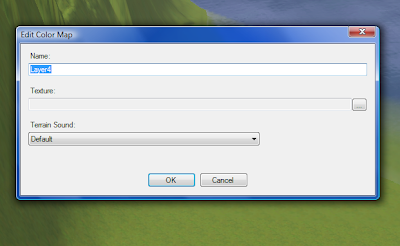
Name your layer, then hit the browse button to pull up a list of image files you can use. Notice that you can select sounds for your terrain paints. This really amused me greatly. Love the sound of a sim walking on the beach.

Anyway, the default images that come with CAW (Click to enlarge):
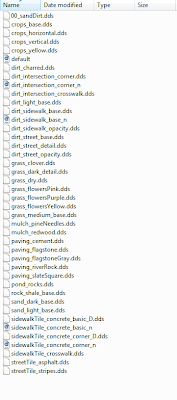
You can use any of these images. You can add more so long as you save the image as a DDS. (Most programs will need an add on to do DDS.) And you can always go back and edit the "layer" by right clicking on the layer you want to edit.

I'm going to keep it pretty simple for right now. I'm going to test out the Autopaint feature. It paints based off the height of the terrain and uses the first two layers of the paints.

(After doing that, CAW went a little wonky. I couldn't see the terrain paints, but if I zoomed out they'd appear. So here's another tip: When in doubt, close the world you're working on and re-open.)

This is a snippet of what I get:
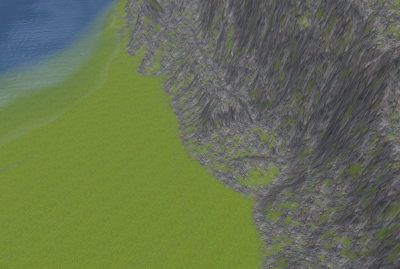
Don't be discouraged, it looks worse than it is from far away, and it's a good base.


With the paints, opacity is really important. You can paint and repaint and paint over things until you get the effects you want. (I've detailed my findings in this entry so I won't go into it again. Basically, don't be disturbed about how bad it looks from far away. Up close it looks a lot better.)


Now I'm going to do a quick hand paint!
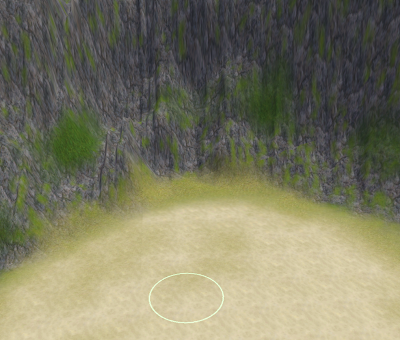
Uh... not the best, but you get the idea.


Daytime view. I actually suggest sending a sim in not just for testing but just to see the view.


Sunset. You can't be alone with a sunset like that!


Really, I think you get the idea. Hopefully I've shared something that will help someone.
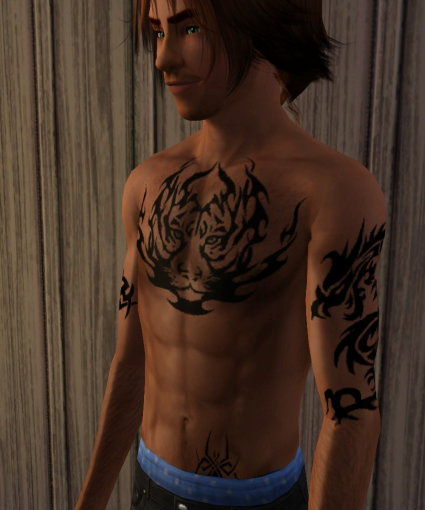
Sneak Peek or What I did Last Night

I had time to kill and didn't want to do anything else with Create a World last night.

So what did I do? I made another Lost Lander (from the Lost Territory).

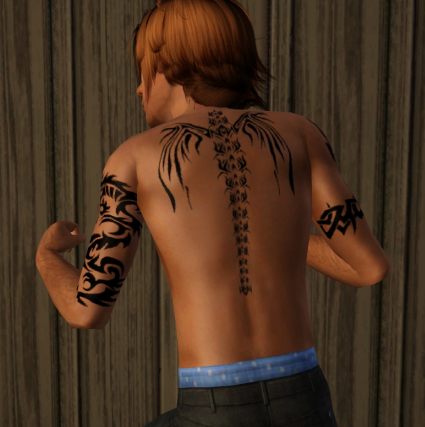
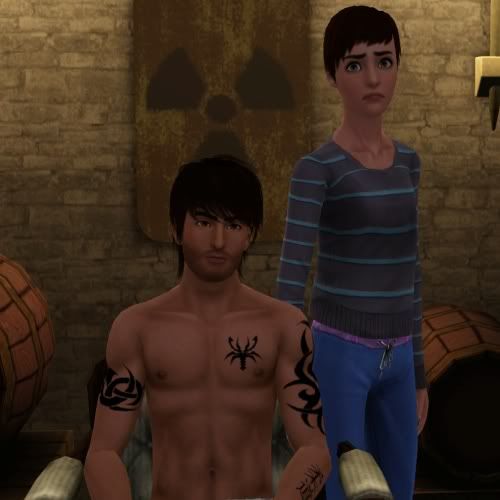
His face is not important. It's not really anything impressive. No, the impressive part on this sim are his tattoos.


That chest tattoo actually started out as a colored tiger (from here). Well that looked unrealistic to me, especially considering the world Ruin. There aren't exactly modern tattoo parlors we're dealing with here. In his case, I imagine each tattoo means something and was done by a friend (by that I mean close tribe member). Having so many means he lived a "long" time for a Lost Lander and earned a lot of honor, so he's probably 19 or 20. It's a tough life out there in the Lost Territory.


The back of the tattoo. All I did was take a lot of images from other tattoos and put them all together on this one as a stencil.

I've learned how to use s3oc, s3pe, and the CTU tool. Because this isn't the first time I had to recolor something. The first time was for Killer, though it was not his tattoos. See if you can spot it.


And before I forget! One issue that has cropped up is the whole no custom skins thing.

Alright, so normally my sims have painted on abs like Killer up there that I think are a nice medium between the flat belly that sims have and the hint that they might have muscle.

I use Asian skins by 234jiao, the originals. I think it softens up the sims face very nicely, and the body looks natural for the most part.

But I wanted this Lost Lander to look a little harder. He's been fighting his entire life, and actually Killer should look this way too, but I didn't figure this trick out in time for that photoshoot.

Gratuitous shot for no obvious reason. (Other than it's gratuitous!)

So here's the trick: TS3 saves stuff in your cache files and really holds onto that information. So if you put new skins in and don't delete the cache, you won't see the new skins unless you send them to the dresser.

Now I deleted the cache files, but they still had on the old skin. (I should have taken a pic of Henri next to this guy so you could see it.)

So I sent this guy to plan an outfit. The new skin appeared and so I mucked around with his outfits.

When we finished planning his clothes, he still had the old skin. So I had him change outfits, and then he had the new skin!


I think it gets tricky after that. Basically, the game will remember that he is wearing a new skin so long as I don't change his clothes in the dresser. I don't know if the game will remember if I click on him and have him change his clothes, so that's something to test.

This isn't a trick I would use often. Just in this character's case, his body is supposed to be hard and should bear scars, but I wasn't about to tackle scars last night after cleaning up that damn tiger.

Basics of the program

Part of my little World Builder for Everyone tutorial.


There are a LOT of buttons and options which makes things hard to find sometimes. So I say take some time if you haven't yet to browse through everything CAW has to offer.

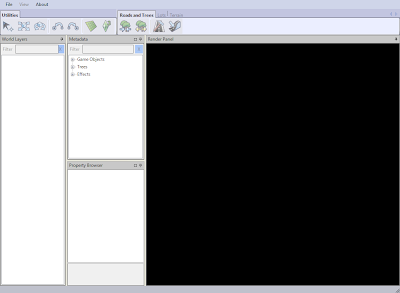
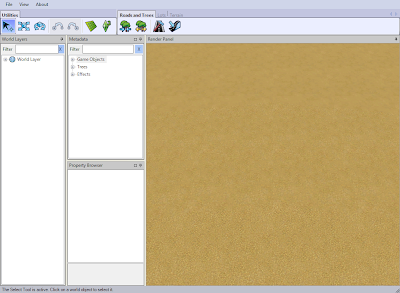
When you open the Create a world program for the first time, you should see this (click on any image to enlarge):


The first box, World Layers, is going to be very important. You can right click on a lot of the stuff in this box to make new options appear. Like being able to add a description, name, and picture to your new world. Or adding new layers.

The second box, Metadata, contains all the objects, spawners, trees, and effects you can place in your world.

The box below the Metadata box, Property Browser, will give you info on lots. This has come in handy when I forgot how large a placed lot was.

Then is the rendering box. There you'll see your world.


Create a new world

This is the easiest step. Go to file> New World. I tried opening a few worlds just to play around with it and see what defaults they gave us.


Now we have a world. The world layers now has info. Now the fun can begin.


Lots of Buttons


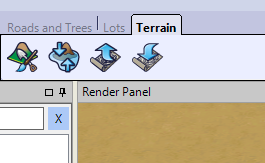
There are a lot of options under each of those three little tabs: Roads, Lots, and Terrain. So click around.

I will call your attention to the Terrain tab right now, because I kid you not it took me a bit to figure this out, so if I can save anyone the stupidity, then I have done my job.

Click the terrain tab. You'll see four options under it.


The first one opens up a box which shows you this:

Now here's the stupid part: There are buttons there. Paint opens up first, but next to it is sculpt. I swear to god I didn't notice that the first few hours I was playing with it and I was ready to ask where those tools were.


So there. Don't let this program make you feel like an idiot. Because maybe you at least found those right off first thing, and here you are reading a tutorial by a girl who spent an hour or two trying to find the sculpt tools.


Back to this, because the button next to the painting tools is also awesome and powerful.

With that you can raise and lower the water level on your world. Here's what you do, click it, then click on the land where you want the water to be. Like say you have a beach, but you want the water to be further up, click on the beach where you want the water to be.

Don't like where the water ended up? Click on the button again and then click on the land. Each time you want to raise or lower the water, click on the button again and then click the land. ((I totally see story possibilities for this. You can have the same neighborhood go through a drought or a flood just by editing it in CAW so long as you save the world!))

Go crazy with that button. It's fun. Swear.


Last thing to point out, which also made me feel utterly stupid:

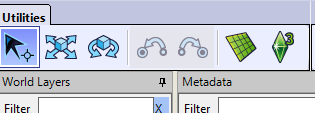
Utilities buttons. Took me forever to figure out how to grab objects and move and place them once I'd put them down. Quick rundown:

The arrow/selector tool is handy. Doesn't move anything, just selects it. If it's a lot, you can look at the property browser to see the stats. You can select anything, and then hit delete to get rid of a lot, object or road section.

Be careful though. Gets tricky a little later on when you have more decorations in your hood.

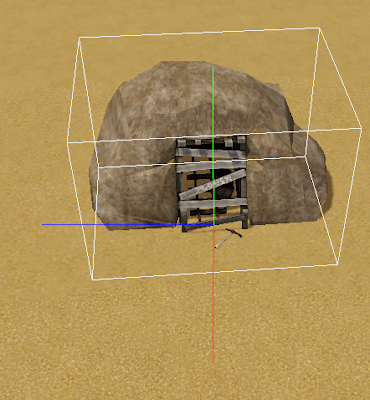
The second button allows for you to move your object. I found it is really handy. When you click on it and then click on a standing object, you get this:


You can move the object on the x, y or z axis. I have found that to be really easy for placing, especially when it came to placing rocks to craft a beach. Mostly because you can grab one axis by highlighting the line (red, blue or green) and then using the mouse.

(For anyone happening along who might not know what a z axis is- you can move the object up and down.)


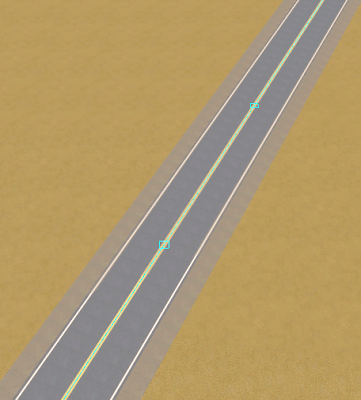
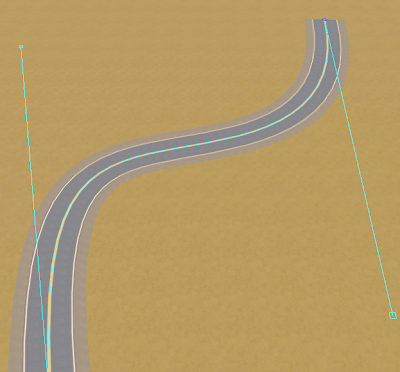
If you have a road placed and you use this tool, you get this:


This was another DUH moment, but I don't feel so bad because a lot of people will not know this. Using this tool, this is how you can move the roads.

Love it! The roads do not have to conform to 90 degree angles anymore.


Ok, back to this:


That third icon is the bane of my world building. I will avoid using it at ALL costs. Place an object right the first time, and try to never use it if you don't have to.

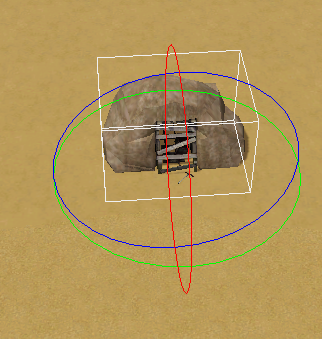
Maybe I'm just being a touch dramatic. Maybe. Click on it and click on a 3D object and you get this:


The idea is that you can now rotate the object in space. Neat, probably handy for some stuff. You can grab at the points to twist an object so that it lays on its side or upside down. I've used it to try and pull some objects just to rotate them a little this way or that and had them do all sorts of crazy things. It seemed simple to me, but I think I'm going to blame CAW for my ineptitude with this one button.

When you first place an object, just like in Sims, you can hold down the mouse button and twist and turn the object until it faces the way you want. So I make sure to do that right the first time!


Anyway, that's the quick rundown for anyone who's really lost or just confused like I was at first. Once I figured all this stuff out, I think it made the rest a lot easier. Course it took like half a day for me to figure this stuff out, so hopefully I can save someone's hair and pride with this.

World Builder For Everyone

Ok, so I want to start a very simple tutorial for the rest of us. I am close to building my first world which is ity bity. So I can't claim I'm an expert. But if I can do it, everyone else can do it too, just takes some patience and some clear directions!

What I want to do is to start posting up chapters, each one a mini-lesson.

They should go in this order (which is subject to change as I'm working off the top of my head right now since I'm away from my simming computer):

1. Basics of the program
2. Terrain Sculpting and Painting
3. Placing Roads and Lots
4. Placing everything else (also known as decorating)
5. Exporting your Neighborhood for use in game


That's it so far. Each lesson hopefully won't be too long. There are a lot of shiny buttons, but what I would like is for anyone reading this to come away with a basic knowledge of the program so you can start the exploration of creating your own world.


Before the lessons begin:

CAW Walkthrough by Rain. The first section is particularly important. Before you create your world, have an idea of what you want. I would suggest to start small. By the end of this tutorial, have plans to have a small and functioning city.

First tip: Remember that with TS3, nothing is truly required. In my story hoods, I did away with the schools, city hall, restaurants, theaters, pretty much everything that might distract them, and my sims have suffered no ill affects. So be free to experiment.

In my little "village" I wanted it to have a small city feel to it, so a cluster of commercial buildings, a few parks maybe, a school, a city hall, and a meeting place. There would be apartment buildings, and a few houses on the outskirts, and some other surprises.


Make plans, do some sketches, get ideas. But I would say don't have too clear an idea of what you want, just a general idea so that you'll feel free to experiment without frustration.

World Builder 2

Holy crap! I am tackling a very small world right now, and it is overwhelming.

The amount of stuff you can do! I certainly wish I was more organized mentally.

So here's the thing, I keep on looking at all the stuff I need and jumping all over the place. But I think the key to good world building will be focusing.

Last night I tweeted that I felt like Slartibartfast when he was making the fjords. And I do! Since last night I was just working on the beach and the beach alone. It's a small beach, but I have to paint it, place the rocks, place the effects which include the ocean surf and some crashing waves. All of this is a lot harder than it sounds.


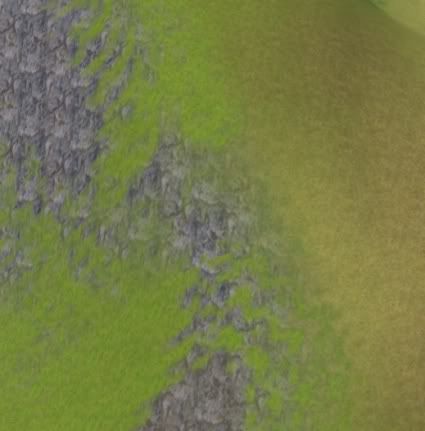
When painting, at first it looks weirdly disorienting. From the high up view, it look splotchy and unnatural. That's just because you're so far away, you're getting a view of where the paint is.


For example, here is a rocky mountain on the beach I'm working on. I couldn't help going, "Yeesh!" And spent a little time trying to make it better, smoother and more natural.


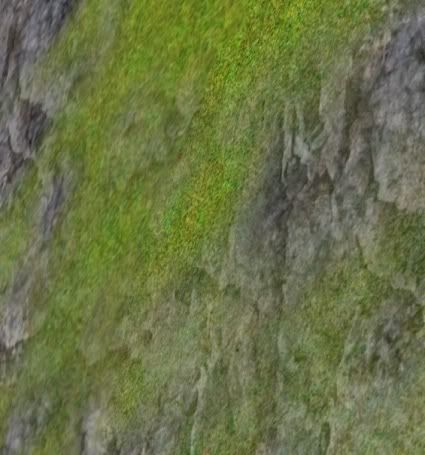
So I think I tried to zoom in, and then I saw this:


It looks exactly the way I wanted it to look. Grass dispersed on shale like it's growing through the rocks. When I peek at the world in game, it looks even better, more detailed and more natural.


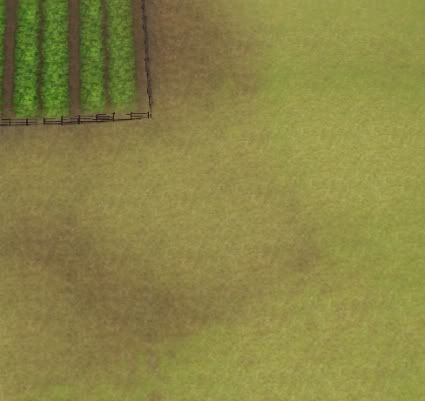
Another example, the ground near a farm I worked on last night before actually focusing.

It was driving me nuts. I wanted the ground to be dirty with sparse grass growing, not perfectly green and lush.

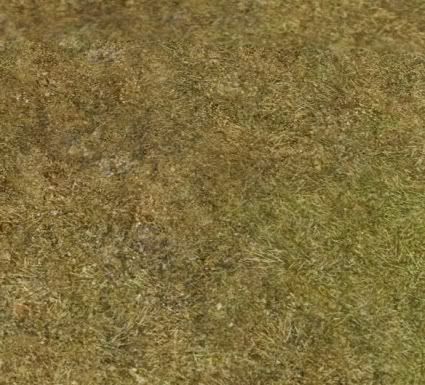
Up close, this is what I have, which is exactly what I wanted.


Edit in game is an annoying misnomer to me. For one, unless I'm missing something (and I might be), you can't actually edit it further than checking to see if a lot fits. Which is pointless anyway because if you have anything installed in your game, it takes forever to load. An hour or more for me, and that was only with the few sims3packs I have installed.

So to get the game to load so I can take a peek with the "edit in game" I have to remove all my downloads. Including the lots I picked up specifically for the project.

Then once I am in game taking a peek, I cannot tilt the camera out of its default setting. The controls are there, but they don't work. It's a little hard to see if the rocks I placed on the beach are floating when I'm looking down at them from above.


On another note that is awesome-- they have our trees. They call it "Monterey Cypress". I think I'm a little too excited about that.

World Builder

I have been playing with this thing all day. I seem to be able to figure things out when I have a certain idea in mind because I won't rest until I do!

So World Builder is awesome. Seriously awesome. Difficult and frustrating, but still really awesome.

Amazing benefits: Being able to upload your own textures. Being able to use more than one type of road in one neighborhood. Being able to upload custom road and sidewalk textures. I can see those coming in handy!

Takes a while to get used to the controls though.


Getting used to scale is difficult. What I did was plopped down a large lot so I would know how big is BIG.

On the plus side, you can put up a grid and tell things to snap to grid. Makes placing intersections and roads SO much easier!

But I can see having to spend a lot of time working on one neighborhood to get it right. I've come a long way during the day, but I haven't painted the grounds yet, and the paints I have are kinda limited. (Just shale, grass, and two kinds of sand apparently. There's probably more that came packaged with World Builder, like the extra roads.)


Overall- two little tips to make it easier that I've learned from my play:

Remember the magic of the right click, and don't forget you have layers off on the side. A lot of options can be found by right clicking on the layers (like adding and editing a description by right clicking on the first layer.)

When working with World Builder, You'll want to see the neighborhood in game. It takes forever to load UNLESS you just remove all your Custom Content.


I do have some Sim3Packs missing, but I hear there is a work around, which I'm trying. I haven't actually tried playing the game though to see if it works because I'm been trying to build all day!


Also, had a little too much fun dressing up and taking pictures of Mr. Brown Suit sim the other night while taking pics for the next two updates. He really came out well, and I cannot claim the credit. His father was a little too pretty, and his mother was a sim I created. I think I only had to touch up his eyes because they were too large and innocent for the character.


Another sim!

I have come to believe that TS3 sims can either be really bland or very interesting if you play with their features right.

Maybe it's just me though. Maybe I'm only interested in the characters I create because they're interesting to me. When I nail the visuals for a character in my head, I know it and I can't help coming back to look at them the same way I do after I lose myself in a piece of writing and then can't believe it came from me.


So I made another sim two nights ago. Two more actually, but the other one is lacking something, and I'm not sure what at this moment.

This one came out perfectly. I've run her through test shots, even started playing with her last night, and got a little too involved. Before I knew it, I was actually playing Sims 3. I just can't believe it.